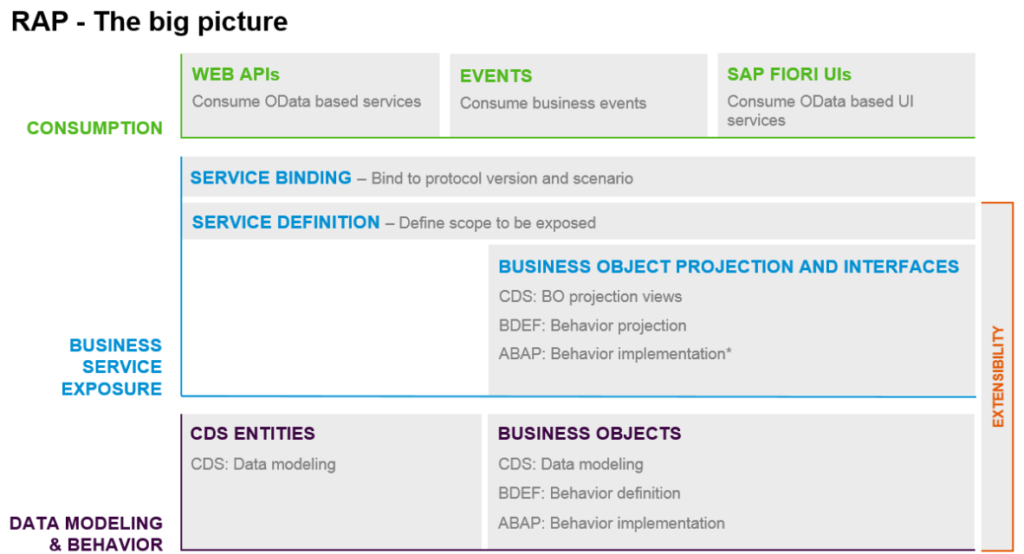
Implement F4 help in a Fiori application
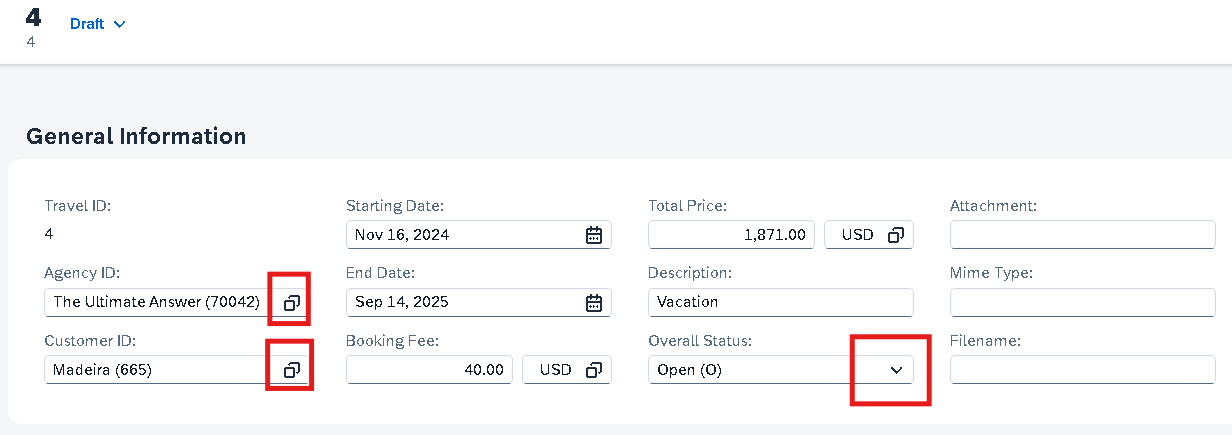
In this tutorial, we are going to learn how to add F4 help in Fiori application with simple annotation only. Let’s go to the object page on any 1 record, click on edit button.
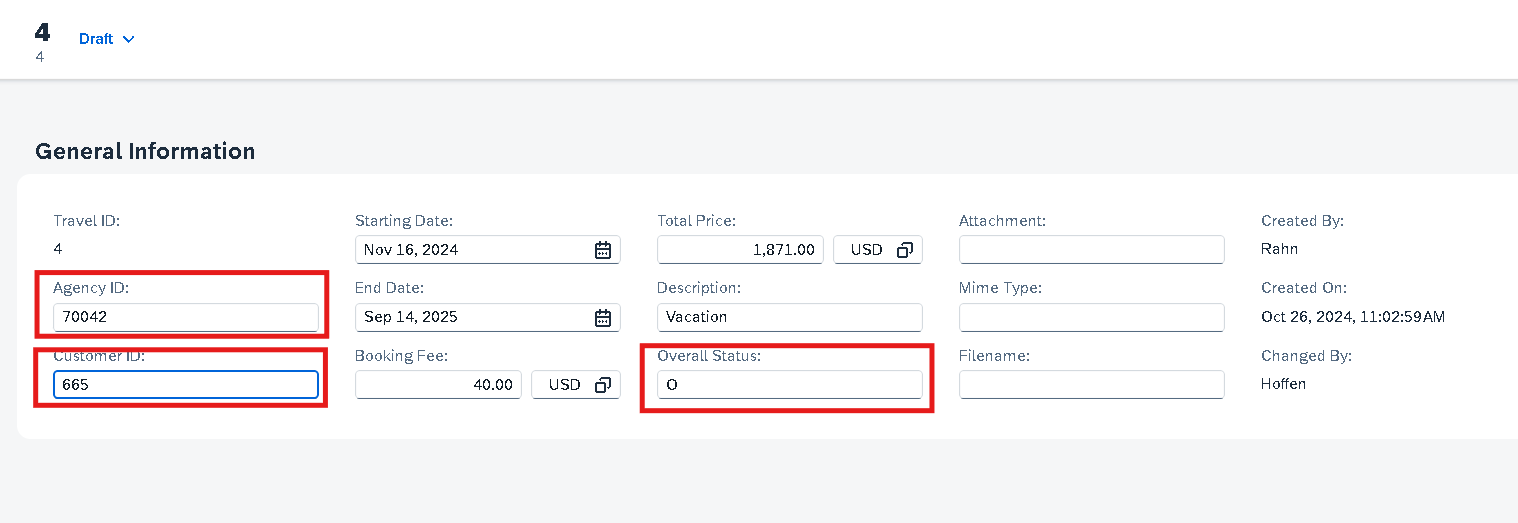
In this section, you’ll learn how to add F4 help for an object using a simple annotation in the projection view. This annotation will also assist with validation during the save or creation of new Travel records.
Write the below code in consumption view ZC_RAPTECH_TRAVEL to make object page element F4 enabled.
For AgencyID
Write the below code in consumption view ZC_RAPTECH_TRAVEL to make object page element F4 enabled.
For AgencyID
@Consumption.valueHelpDefinition: [{ entity : {name: '/DMO/I_Agency_StdVH', element: 'AgencyID' }, useForValidation: true }]For CustomerID
@Consumption.valueHelpDefinition: [{ entity : {name: '/DMO/I_Customer_StdVH', element: 'CustomerID' }, useForValidation: true }]For Overall Status
@Consumption.valueHelpDefinition: [{ entity: {name: '/DMO/I_Overall_Status_VH', element: 'OverallStatus' }, useForValidation: true }]Please see the below code changes made for F4 help. The use of annotation “useForValidation” help to implement auto validation logic without any ABAP code changes.


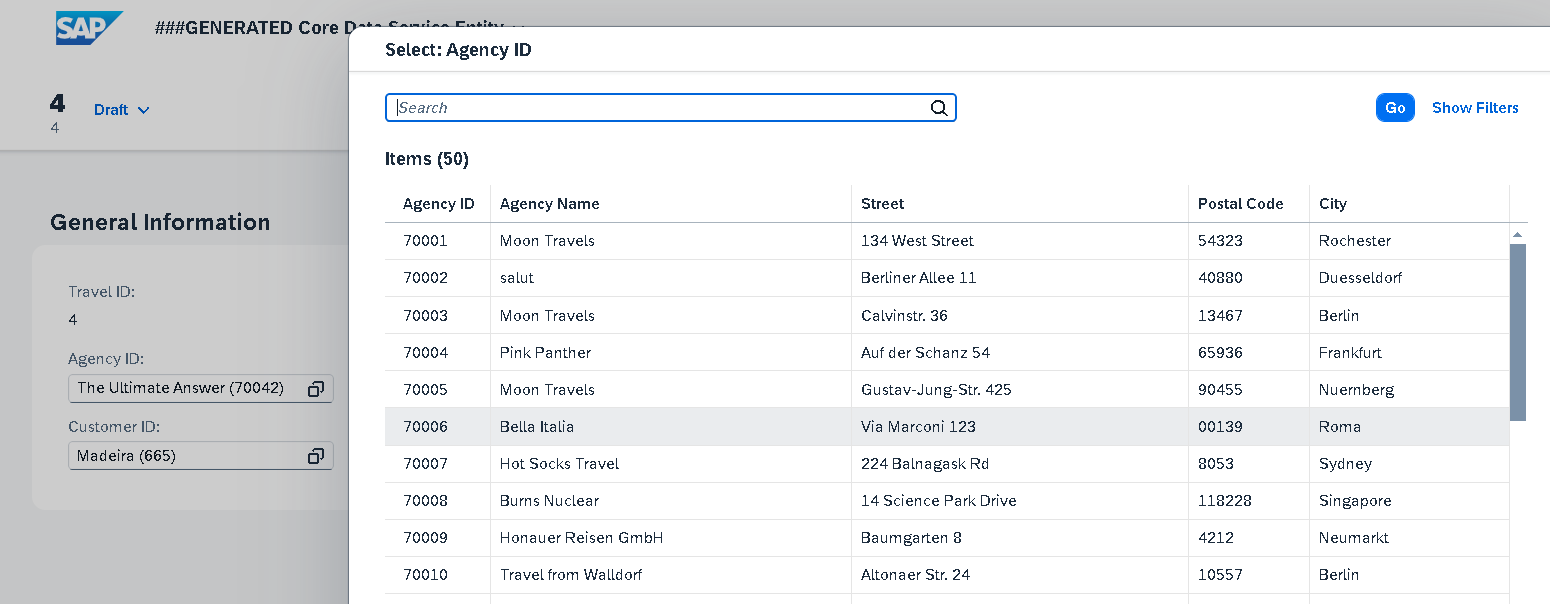
Try to put some wrong agency id, application will automatically restrict you putting incorrect data, thanks to annotation we specified in Projection CDS
In the next tutorial we will learn how to upload attachment. Stay tuned!!!